





Bolt-on vs. Pocket Style: How to Fit Fender Flares Without Drilling
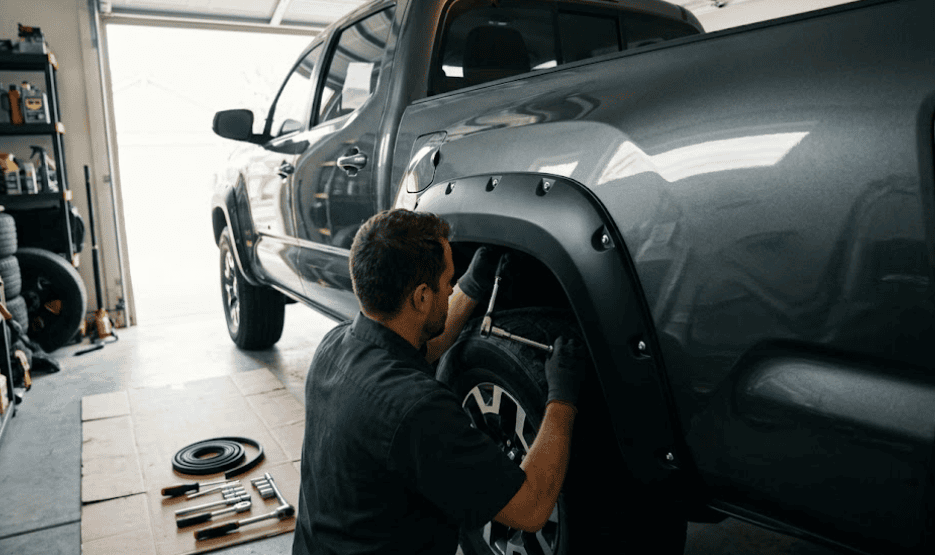
Upgrading your truck’s stance with oversized, aggressive mud-terrain tires often means needing extra tire clearance and heavy-duty paint protection from flying debris. However, many truck owners hesitate to make this crucial vehicle upgrade. Why? Because they want to avoid drilling permanent holes into their pristine factory sheet metal.
Fortunately, modern aftermarket automotive engineering has provided the perfect solution: no drill fender flares. Whether you are a hardcore off-road enthusiast or just want a wider, more muscular stance for your daily driver, knowing how to install fender flares at home can save you hundreds of dollars in professional body shop labor fees.
In this comprehensive expert guide, we will compare Bolt-on versus Pocket Style flares, provide an authoritative specification comparison table, and walk you through a complete, step-by-step DIY fender flare installation tutorial.
Bolt-on vs. Pocket Style Fender Flares: Which is Right for You?
When shopping for no drill fender flares, you will quickly encounter two dominant styles in the truck accessory market: Bolt-on (also known as OE/Original Equipment style) and Pocket Style. Understanding the fundamental differences is crucial for achieving your desired automotive aesthetic.
Pocket Style Fender Flares: These are famous for their rugged, hardcore mechanical appearance. They feature recessed exterior pockets housing stainless steel bolts. The secret? These bolts are purely decorative. They give the bold illusion of being bolted directly into the body panels, but they do not actually drill into the truck’s sheet metal.
Bolt-on / OE Style Fender Flares: If you prefer a smoother, flush appearance that mimics high-end factory-installed trims, bolt on fender flares are your absolute best choice. They offer a sleek, low-profile look while still providing the essential extra tire coverage required by local laws for wider wheels.
Both styles share one major engineering benefit: they utilize existing factory mounting points and specially designed U-clips, ensuring a secure fit without permanent modification.
Industry Comparison: Flare Styles at a Glance
To help you make an informed decision, here is a comparative breakdown based on aftermarket truck accessory specifications:
| Feature/Specification | Pocket Style Fender Flares | Bolt-On / OE Style Fender Flares |
| Visual Aesthetic | Aggressive, rugged, heavy-duty bolted look | Smooth, sleek, streamlined factory appearance |
| Average Extra Tire Coverage | 2.0″ – 3.0″ (Ideal for negative offset wheels) | 0.5″ – 1.5″ (Ideal for mild upgrades) |
| Drilling Required? | No (Exterior bolts are decorative only) | No |
| Average Installation Time | 1.5 – 2.5 Hours (Requires hardware assembly) | 1 – 1.5 Hours |
| Best Suited For | Lifted trucks, oversized off-road tires, trail rigs | Stock height, street trucks, daily drivers |
Tools Needed for a Professional Fender Flare Installation
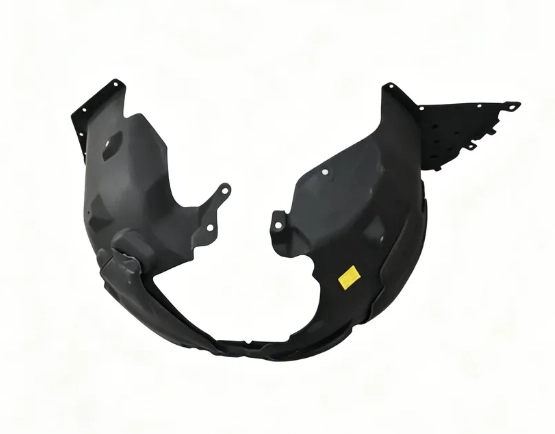
A successful and frustration-free fender flare installation requires having the right tools on hand before you begin. Because we are specifically focusing on no drill fender flares, you can safely leave the power drill in your toolbox.
Gathering these basic hand tools will ensure your project goes smoothly:
- Socket wrench set (typically 8mm or 10mm sockets are required to remove factory hex screws).
- Allen wrench / Torx bit (specifically for assembling the decorative hardware on pocket style flares).
- Phillips head screwdriver.
- Isopropyl alcohol wipes and a clean microfiber cloth (absolutely crucial for surface prep).
- Utility knife or heavy-duty scissors (to precisely cut the rubber edge trim).
- A soft moving blanket or large cardboard piece (to lay the flares on without scratching the plastic during prep).
How to Install Fender Flares Without Drilling (Step-by-Step Guide)
If you are wondering how to install fender flares quickly and safely in your own driveway, follow this step-by-step, mechanic-approved process.
- Wash and prep the wheel well area. Use isopropyl alcohol and a clean microfiber cloth to thoroughly wipe down the inside lip of the wheel well and the surrounding painted fender where the flare will rest. Removing all dirt, road grime, or car wax is mandatory; otherwise, the rubber trim will not seat properly and may rub against your paint.
- Install the rubber edge trim. Lay your flare face-down on a soft surface. Peel back about two inches of the red vinyl backing from the provided rubber edge trim. Press the adhesive side firmly onto the top inner edge of the fender flare. Slowly work your way around the entire top perimeter, peeling the backing and pressing the trim down as you go. Cut any excess trim at the end with your utility knife.
- Attach the decorative hardware. If you purchased pocket style flares, insert the provided stainless steel bolts through the pre-drilled exterior pockets on the flare. Secure them on the backside using the included lock nuts and washers. Use your Allen wrench and a socket wrench to tighten them. (Expert Note: Hand-tighten only. Overtightening will warp or crack the ABS plastic).
- Remove factory mud flaps and screws. Move to your truck’s wheel well. Using your socket wrench, remove any existing factory mud guards, rock guards, or factory hex screws located along the inner lip. Keep these factory screws in a safe place, as you will reuse them to mount the new flares.
- Install the mounting brackets or clips. Depending on your specific truck make and model, slide the provided metal U-clips or mounting brackets over the factory holes along the inner lip of the truck’s wheel well sheet metal. These clips provide a heavy-duty threaded anchor for your screws without requiring new holes to be drilled.
- Position the fender flare. Hold the fully prepped fender flare up to the wheel well. Align the mounting slots on the underside of the flare with the U-clips or factory holes you just prepared in the previous step.
- Fasten the flare to the truck. Starting from the top center hole and working your way outward to the bottom edges, thread the provided screws (or your reused factory screws) through the flare and into the clips. Apply firm, moderate pressure to the outside face of the flare to ensure a tight, flush fit against the truck’s body before giving the screws their final tightening.
Pro Tips for Bushwacker Fender Flares Installation
When tackling a premium brand installation, such as a Bushwacker fender flares installation, paying attention to the finer details is what separates a decent DIY job from a flawless, professional body shop result.
Primero, temperature matters immensely. Always perform your fender flare installation in a warm environment, ideally above 65°F (18°C). Warm ABS and Dura-Flex plastic is far more pliable and will conform effortlessly to the unique body lines of your truck. If you are installing them in the winter, use a heated garage or let the flares sit in a warm room for a few hours prior to installation.
Second, always test fit first. Before peeling any adhesive backing or installing the edge trim, hold the raw, bare flares up to the truck. This ensures you have correctly identified the driver-side, passenger-side, front, and rear pieces. It also verifies that your specific truck trim package doesn’t have unexpected interference from factory bumper caps or aftermarket side steps.
Frequently Asked Questions (FAQ)
To further help you understand how to install fender flares, here are authoritative answers to the most common questions truck owners ask.
Do no-drill fender flares damage the truck’s clear coat or paint?
No, as long as they are installed correctly. The rubber edge trim applied during the preparation step acts as a protective, vibrating-absorbing buffer between the rigid plastic of the bolt on fender flares and the truck’s painted surface, preventing chafing and paint damage over time.
Can I paint my fender flares to match my truck’s exact body color?
Absolutely. Most aftermarket flares arrive in a UV-resistant OEM matte black finish that looks great out of the box. However, the automotive-grade ABS plastic is highly receptive to automotive paint. They can be lightly scuffed, primed, and color-matched by any professional local body shop for a seamless, high-end custom look.
Are fender flares street legal?
Yes, and in many jurisdictions, they are actually legally required if you upgrade to wider wheels and tires. Vehicle safety laws frequently mandate that the tire tread must be fully covered by the fender to prevent your tires from throwing rocks, mud, and debris at the vehicles driving behind you.
Conclusión
Upgrading your vehicle with aggressive styling and vital tire coverage doesn’t mean you have to permanently alter or damage your truck’s body panels. By opting for high-quality no drill fender flares, you completely preserve your vehicle’s structural integrity and resale value while achieving that custom, muscular off-road aesthetic.
Whether you lean towards the sleek, subtle lines of bolt on fender flares or the rugged, bolted charm of the pocket style, the DIY process is highly approachable for any skill level. Grab your basic hand tools, follow our step-by-step fender flare installation guide, and transform your truck’s stance in just a single afternoon!
