






How Do You Reattach a Rearview Mirror Permanently? (Top Adhesives)
Driving down the highway and suddenly having that mirror drop right into your lap is more than just annoying. It is a major safety hazard. You immediately lose a huge chunk of visibility, and fixing it right away becomes a top priority. A lot of drivers wonder how do you reattach a rearview mirror without taking a costly trip to the mechanic. The secret lies in doing the prep work properly and choosing a high-quality rearview mirror adhesive instead of whatever super glue happens to be sitting in the junk drawer. Whether you are dealing with interior cabin fixes or looking for high-quality exterior parts from HiLUCK to keep your car in top shape, having the right components makes a massive difference for daily driving.
Why Does Your Rearview Mirror Keep Falling Off?
It is frustrating when you fix something and it just breaks again a few days later. To get a repair that actually lasts, you need to look at what caused the failure in the first place. Mirrors do not just fall off for no reason. A combination of environmental stress and physical wear breaks down the factory seal over time.
Extreme Temperature Changes Affect Adhesion
Your windshield takes a beating from the weather. In the summer, the glass bakes in the direct sun, and in the winter, it turns to ice. This constant expanding and contracting ruins standard glue. A proper rearview mirror adhesive is formulated specifically to handle these wild temperature swings without melting or cracking.
Age and Constant Vibration Degrade the Glue
Cars vibrate endlessly. Every pothole, speed bump, and rough patch of asphalt sends shockwaves straight through the chassis into the glass. Over several years, these micro-vibrations slowly weaken the bond between the metal button and the windshield until gravity finally takes over.
Accidental Physical Impacts Weaken the Mount
Sometimes the damage happens right inside the cabin. Pushing too hard while cleaning the inside of the windshield or aggressively adjusting the viewing angle can easily snap a weak bond. Kids bumping into it or hanging heavy air fresheners adds unnecessary strain too.
How Do You Prepare the Glass and Mirror Button?
Skipping the cleanup phase is the number one reason DIY mirror repairs fail. You cannot just slap new glue over old dried gunk and expect it to hold. The surfaces must be completely bare. Spending an extra five minutes on this step saves you from doing the whole job over again next week.
Scrape Off Old Residue Completely
Grab a fresh razor blade or a sharp scraper tool. Carefully shave away every last bit of the old adhesive from both the inside of the windshield and the small metal mounting bracket, usually called the button. Be gentle on the glass to avoid scratching it.
Clean Both Surfaces with Rubbing Alcohol
After scraping, oil and dust are still sitting on the surface. Wipe down the glass and the metal button with rubbing alcohol and a clean microfiber cloth. Do not use standard glass cleaners because they often leave behind a cloudy film that stops the new glue from sticking.
Mark the Correct Position Clearly
Before applying any liquids, figure out exactly where the bracket needs to go. Take a piece of masking tape and stick it on the outside of the windshield right over the original spot. This gives you a clear target to aim for when you are rushing to place the glued bracket from the inside.
What Makes a Top-Quality Rearview Mirror Adhesive?
If you try to use standard super glue or wood glue, the mirror will fall off by tomorrow afternoon. Glass and metal are non-porous surfaces, meaning normal glues have nothing to grab onto. You need an adhesive specifically engineered for auto glass applications.
High Tolerance to Heat and UV Rays
The best kits use chemicals that resist intense ultraviolet light and high cabin temperatures. When the summer sun beats down on the glass, a dedicated rearview mirror adhesive stays rock solid instead of turning gooey.
Fast Curing Time for Quick Fixes
You do not want to sit in your driveway holding a metal bracket against the glass for an hour. Quality kits cure fast. They create a firm initial grip in just a few minutes, letting you step away and let the chemical reaction finish on its own.
Strong Bonding Formulated for Glass and Metal
These specialty glues are two-part acrylic systems. They create a structural bond between slick glass and smooth metal. This unique formulation is exactly why you should never substitute it with basic household adhesives.
How Do You Reattach a Rearview Mirror Permanently?
Now that everything is clean and you have the right glue, it is time for the actual installation. The process goes fast once you open the chemicals, so read the instructions on your specific kit first. Working in a shaded area rather than direct sunlight also helps control the drying speed.
Apply the Primer to the Windshield and Button
Most kits come with an activator or primer wipe. Rub this liquid onto the marked spot on the windshield and onto the flat side of the metal button. Let it air dry completely, which usually takes about one or two minutes. This activator is what triggers the glue to harden.
Place a Single Drop of Adhesive
Less is definitely more here. Squeeze just one single drop of the rearview mirror adhesive right into the center of the metal button. Spreading it around is a bad idea because it will naturally spread out evenly once you press it against the flat glass.
Hold Firmly Until the Glue Cures
Press the button against the windshield precisely over your tape mark. Hold it perfectly still with firm pressure for at least 60 seconds. After a minute, let go. Do not attach the heavy mirror assembly right away. Leave the button alone for at least 24 hours to let the bond reach maximum strength.
When Should You Replace the Outer Rearview Mirror Lens?
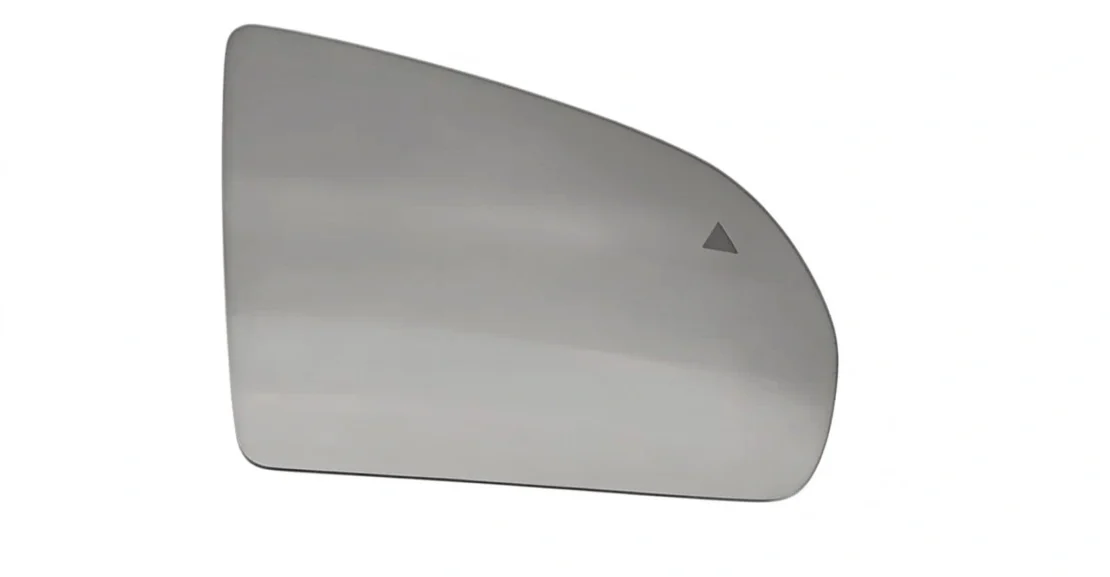
While fixing the inner cabin mirror is a simple DIY adhesive job, exterior side mirrors take a lot more direct physical damage. Sometimes the glass gets completely ruined by passing cars or tight garage walls. In these cases, you have to swap out the broken parts for new ones to drive safely.
Deep Scratches Obscure the Driver Vision
If a side mirror lens gets severely scratched by debris or harsh washing brushes, the glare from headlights behind you becomes blinding at night. Scratched glass distorts your depth perception and makes lane changes dangerous.
The Original Lens Is Cracked or Shattered
A cracked side mirror is an instant fail for vehicle safety inspections in many areas. Even a small hairline crack messes with the reflection. When the glass breaks, swapping the lens is the only option left.
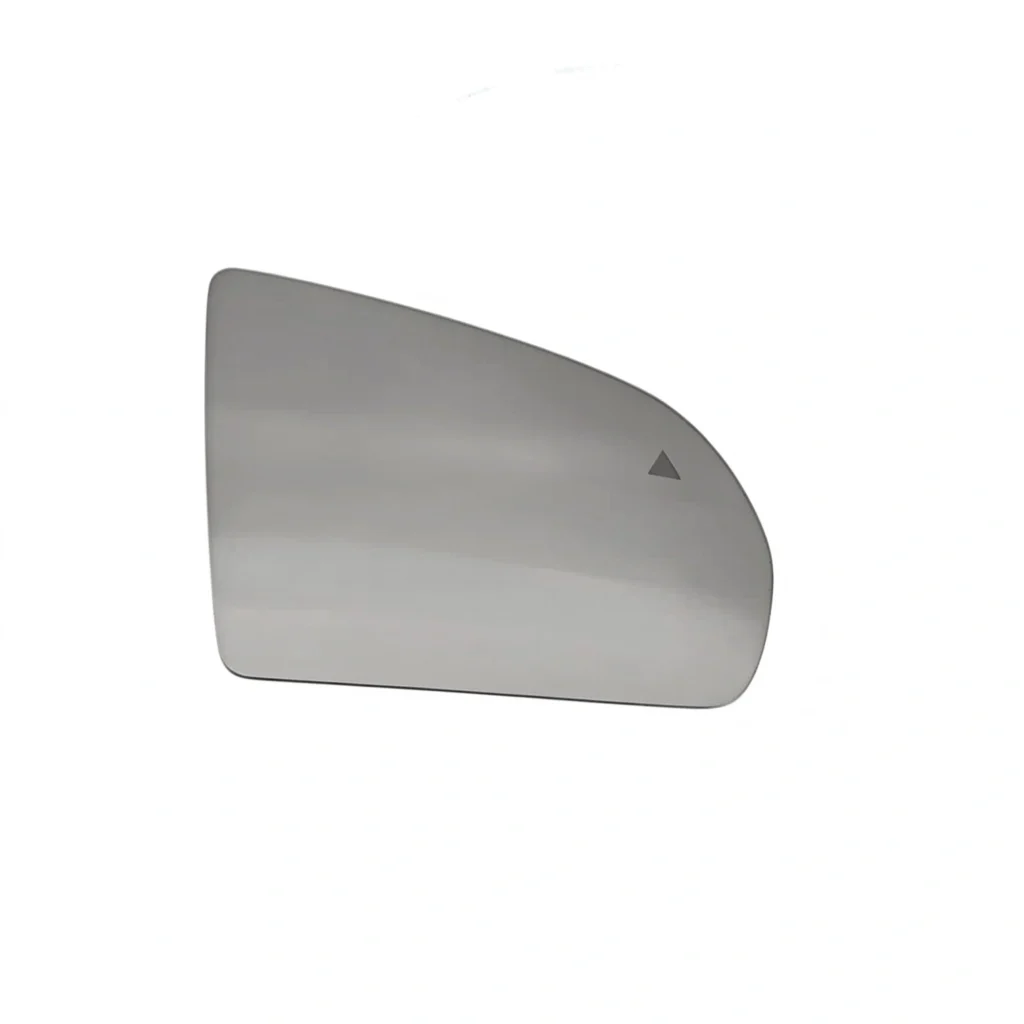
HiLUCK Provides Premium Outer Rearview Mirror Lenses
When you need a precise replacement, checking out an Outer Rearview Mirror Lens from a reliable source is the smart move. These lenses offer excellent clarity and fit perfectly, getting your vehicle back to safe driving conditions quickly.
What Are the Common Mistakes to Avoid During Installation?
Even with a top-tier adhesive kit, things can go sideways if you skip over the basic rules. People often rush the job because they want to drive immediately. Avoiding a few simple traps saves a lot of headaches later on.
Applying Too Much Rearview Mirror Adhesive
Drowning the button in glue is a classic rookie mistake. A massive puddle of glue actually takes much longer to cure and never bonds as strongly as a single, thin layer. Plus, the excess drips down the glass and makes a huge mess.
Skipping the Essential Surface Cleaning Step
If there is even a tiny fingerprint of oil left on the glass, the chemical bond will fail. Rubbing alcohol is cheap and effective. Never skip the cleaning phase just to save a couple of minutes.
Mounting the Heavy Mirror Before Complete Curing
The button might feel secure after five minutes, but it is not ready to hold weight. Hanging the heavy mirror assembly too soon will pull the bracket right off the glass. Always wait a full day before sliding the mirror back onto its mount.
Where Can You Find Reliable Auto Parts and Support?
Fixing a dropped mirror is a great start, but maintaining a vehicle often requires tracking down quality replacement parts. Sourcing reliable components makes every repair job significantly easier and safer.
Explore the Extensive EV Parts Inventory
Finding the right parts for modern vehicles requires a good supplier. You can check out a wide variety of quality components by browsing the EV parts inventory to match your exact vehicle model.
Read the HiLUCK Blog for More Maintenance Tips
Staying updated on automotive repair techniques helps you handle minor issues before they turn into major shop bills. You can find detailed guides and advice by visiting the informative blog section for ongoing vehicle care.
Contact Professionals for Automotive Solutions
Sometimes a repair is a bit too tricky to handle alone, or you need to verify part fitment. Do not hesitate to reach out for help. You can easily get guidance by choosing to contact the support team or checking out the company background on the about us page to see their expertise.
PREGUNTAS FRECUENTES
Q1: Can you use super glue to reattach a rearview mirror?
A: No, standard super glue will fail very quickly. It cannot handle the extreme heat of the windshield or the constant vibrations of the car, so always use a specific rearview mirror adhesive.
Q2: How do you reattach a rearview mirror if the glass is tinted?
A: The process is exactly the same, but you have to be extra careful when scraping off the old glue so you do not accidentally slice into the interior tint film with your razor blade.
Q3: How long does rearview mirror glue take to dry?
A: The initial set takes about one to two minutes while you hold the button in place. However, you need to wait 24 hours before hanging the actual mirror assembly to get a permanent hold.
Q4: Why did my mirror fall off again after I glued it?
A: The most common reasons are failing to clean the glass thoroughly with rubbing alcohol, applying too much glue, or hanging the heavy mirror before the 24-hour curing time was up.
Q5: Do I need to reapply the primer if I mess up the first try?
A: Yes. If the bracket slips or falls off during installation, you have to scrape off the wet glue, clean the surfaces with alcohol again, and reapply the activator primer before trying again.
