




Let’s be honest: sitting in a dealership waiting room just to pay a heavily marked-up cabin air filter cost is frustrating. If you’re wondering how to change a cabin air filter yourself, the good news is you don’t need to be a mechanic. It’s one of the easiest DIY maintenance tasks out there.
Whether you drive a gas-guzzler or a sleek new electric vehicle (EV), swapping out this filter takes about five minutes, saves you money, and instantly improves the air you breathe on your commute.
Preparation: What Do You Actually Need?
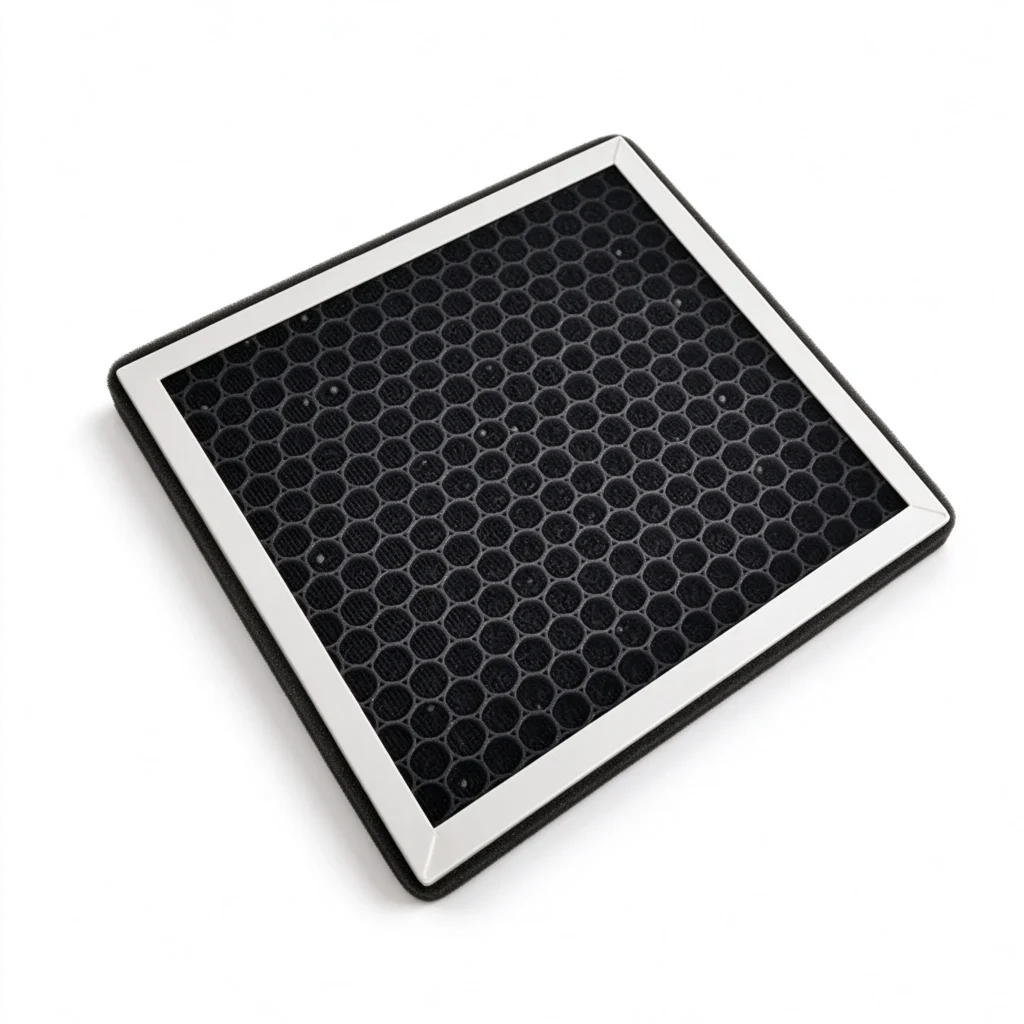
You can leave the toolbox closed for this one. For about 90% of cars on the road today, you only need two hands and a few minutes of patience.
The only real “prep” is making sure you have a solid replacement ready to go. Skip the flimsy paper filters. We highly recommend grabbing a premium upgrade like the HILUCK High-Efficiency Cabin Air Filter. Getting a Genuine OEM replacement part means it drops right into place—no struggling with weird dimensions or poor seals.
5 Easy Steps: How to Replace Your Cabin Air Filter
(Quick heads-up: While layouts vary slightly by brand, almost all modern cars hide this filter right behind the passenger-side glove box.)
Step 1: Empty the Glove Box. Open it up and take everything out. Trust me, you don’t want your registration papers and old napkins spilling all over the floor mats when you drop the box down.
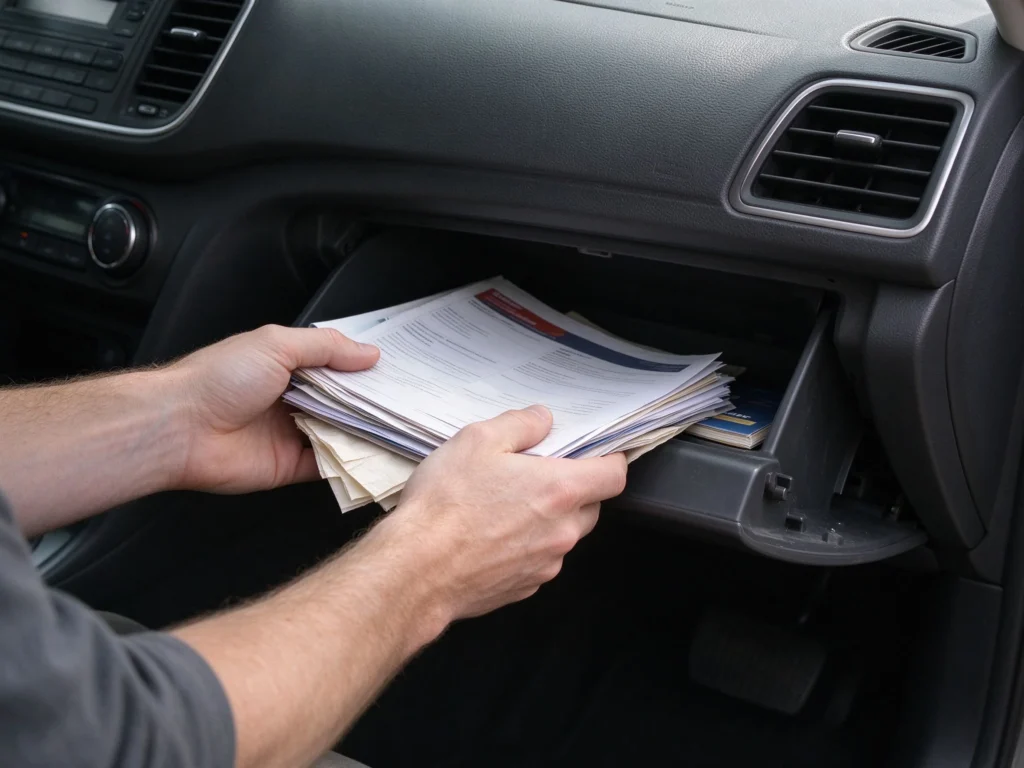
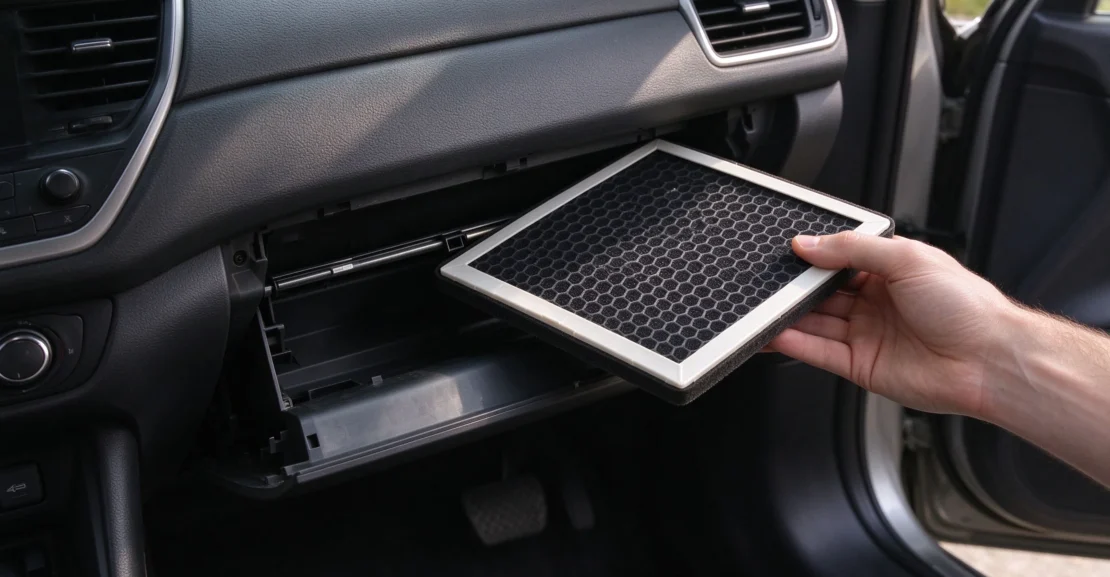
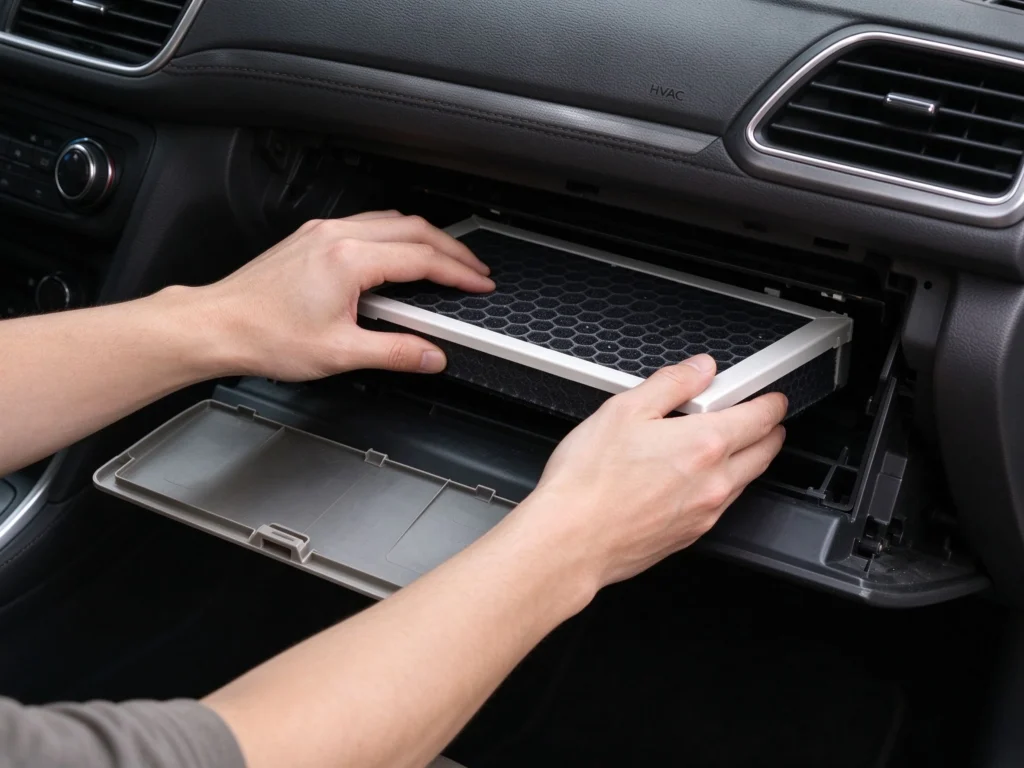
Step 2: Drop the Glove Box Look for the small plastic retainer pins or a dampener arm on the sides of the glove box. Gently squeeze the sides inward (or unclip the arm) so the glove box swings downward toward the floor. You’ll see the HVAC blower assembly right behind it.
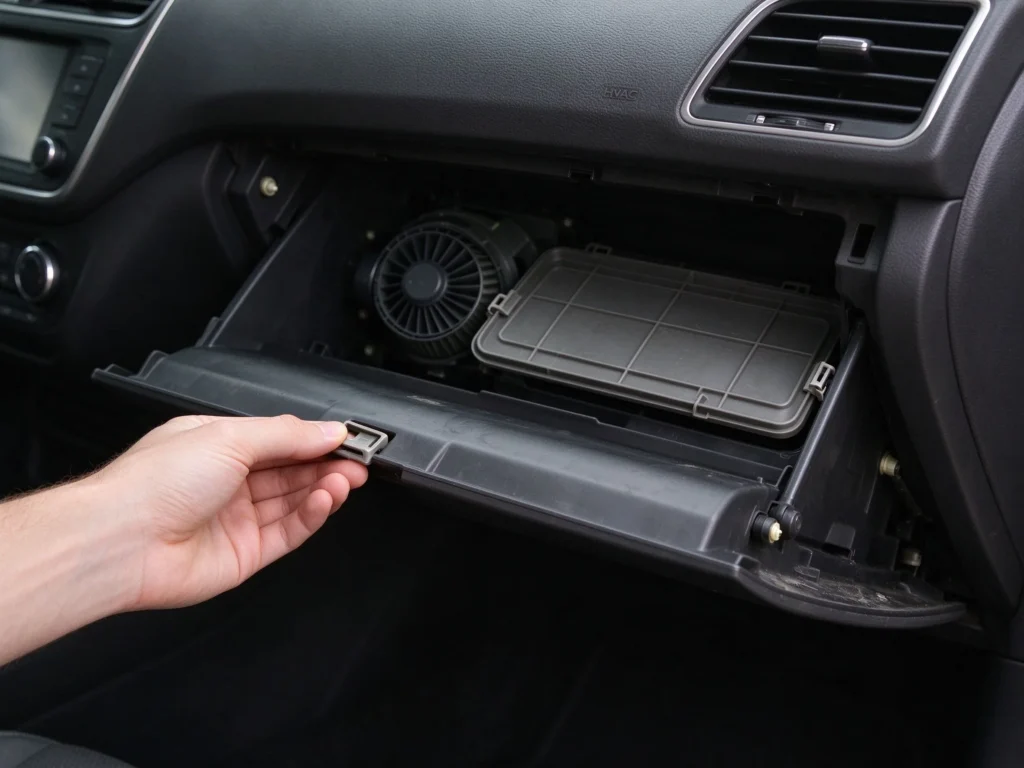
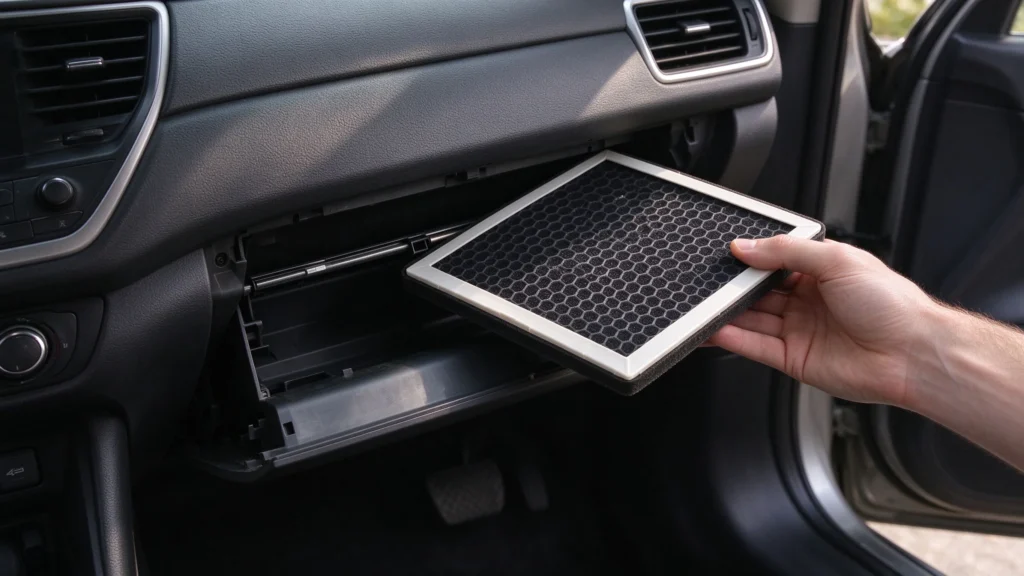
Step 3: Pull the Old Filter. You’ll spot a rectangular plastic cover held by a couple of side latches. Pinch those latches, pop the cover off, and carefully slide the old filter out. Keep it completely flat! You don’t want all that trapped dust, leaves, and PM2.5 particulates dropping down into your fan motor.
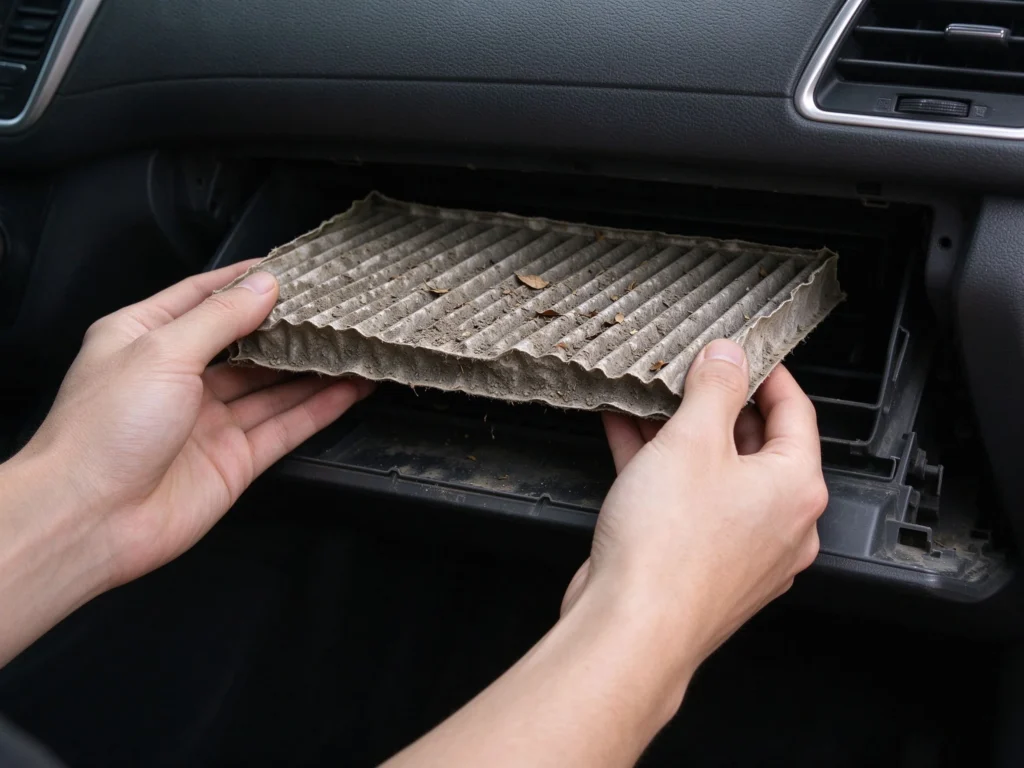
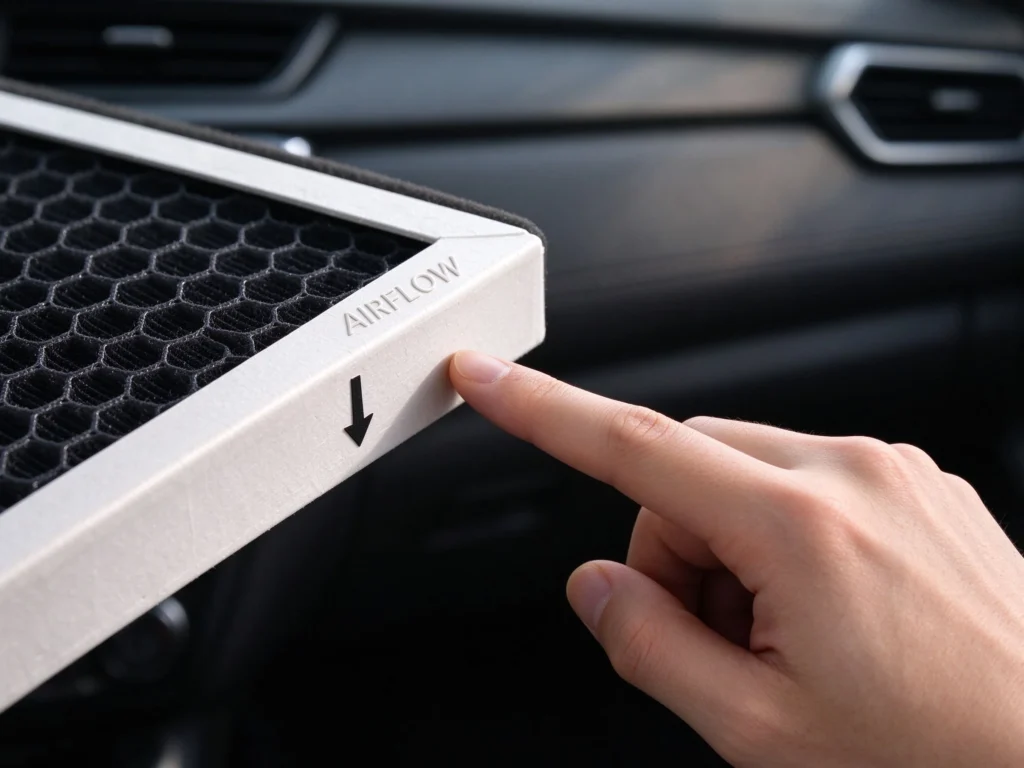
Step 4: Match the Airflow Direction. This is the one thing people usually mess up. Look at the side of your new filter. Most feature an “Airflow” arrow (which should point down towards the blower motor), while some have an “UP” arrow indicating orientation. Always match the exact orientation of the filter you just removed to ensure proper HVAC function.
Step 5: Slide It In and Pack Up. Push your new activated carbon filter in until it’s snug. Snap the plastic cover back on, push the glove box up until it clicks back onto its hinges, and put your stuff back inside. You’re done!
Why Upgrading to Activated Carbon Just Makes Sense
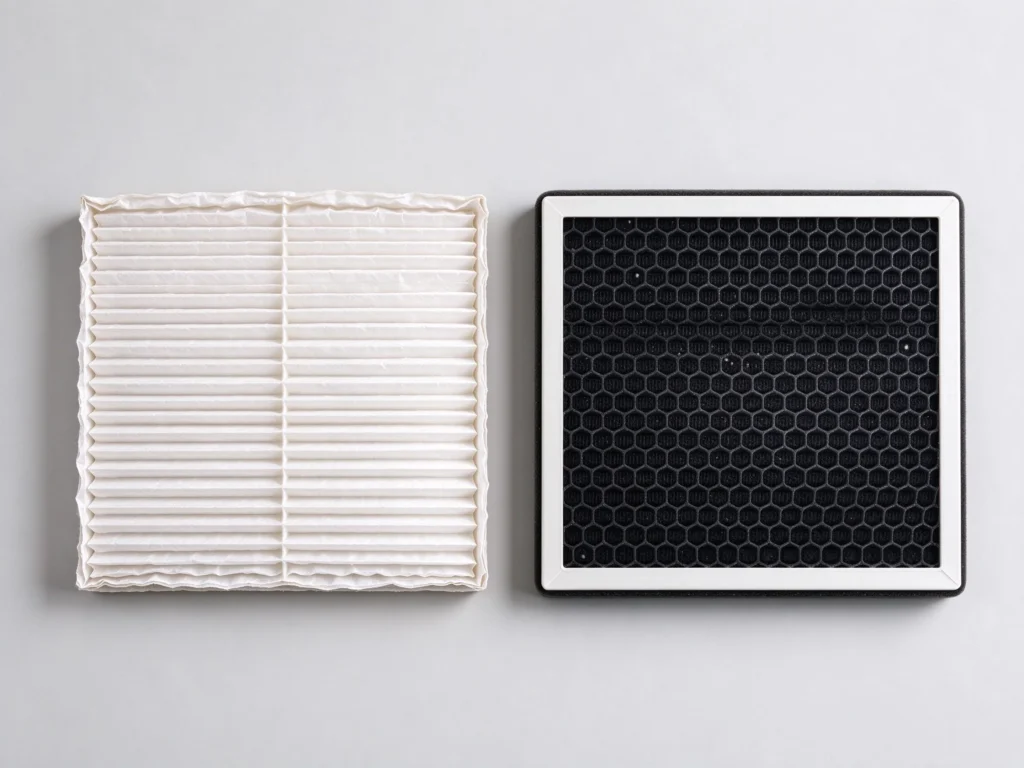
Since you aren’t paying a mechanic’s hourly rate, it makes sense to put a few of those saved dollars toward a better filter. Standard factory paper filters are okay for catching dead leaves and heavy dirt, but they do absolutely nothing for bad smells or microscopic pollutants.
This is where a multi-layer activated carbon cabin air filter completely changes the game. The هيلك filter uses an electrostatic layer to grab fine PM2.5 particles and allergens out of the air. But the real star is the high-density activated carbon layer. It actively adsorbs noxious exhaust fumes and volatile organic compounds (VOCs) before they can blow into your face.
If you drive an electric vehicle, this upgrade is a no-brainer. Without engine noise to distract you, outside odors become super obvious. Premium EV parts like an activated carbon filter act as your ultimate barrier against city smog.
A Quick Note on Global Auto Parts Sourcing
Behind the scenes of your everyday vehicle maintenance, there’s a massive global supply chain at work. As an international automotive export company, we focus on bridging the gap between factory-direct manufacturing and global demand. We specialize in supplying original factory spare parts and premium consumables—without the crazy retail markups.
Whether you’re an overseas importer, a regional aftermarket distributor, or managing a fleet of new energy vehicles, our streamlined export solutions give you exactly what your market needs. مرحبًا بك handles the intermediary sourcing to ensure you receive consistent, Genuine OEM and export-ready components tailored perfectly to your business scale.
الأسئلة الشائعة
Q: How often to change cabin air filter if I drive in heavy city traffic?
A: If you’re stuck in stop-and-go traffic every day, your car is sucking in a lot of concentrated exhaust. While the standard rule is 12,000 to 15,000 miles, city drivers should swap it closer to 8,000 miles. For a full breakdown based on your specific driving habits, check out our complete guide on how often you should change your cabin air filter.
Q: Will changing my cabin air filter fix a weak AC?
A: Yes, it often does! A severely clogged filter acts like a brick wall blocking your AC’s blower motor. Swapping in a fresh filter is usually the fastest, cheapest way to get your air conditioning blowing strong and cold again.
Q: What happens if I install the cabin air filter backwards?
A: If you put it in with the airflow arrow pointing the wrong way, your HVAC system has to work much harder to push air through the filter media. This reduces your overall vent airflow, puts unnecessary strain on the blower motor, and can even cause the filter to warp or collapse over time. Always double-check that arrow!
