




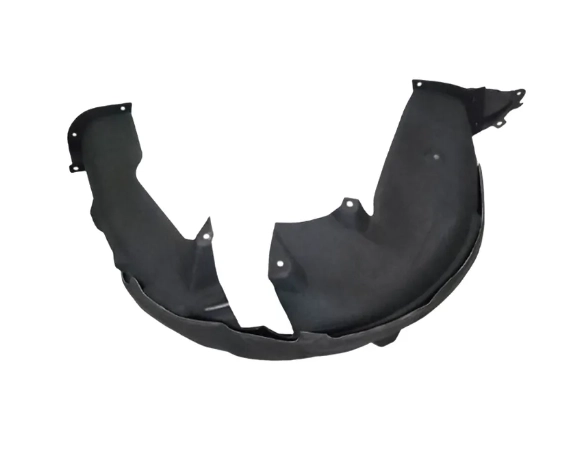
How to Install Fender Flares at Home (Step-by-Step DIY Guide)
Adding new exterior parts to your vehicle right in your own driveway brings a solid sense of accomplishment. It saves money and gives you complete control over the final look of your ride. Upgrading your wheel wells is one of the most popular weekend garage projects out there. If you want a reliable place to source quality exterior components, you can always check out HiLUCK for top-tier automotive parts. They focus on delivering precision-fit accessories that make home installations much smoother.
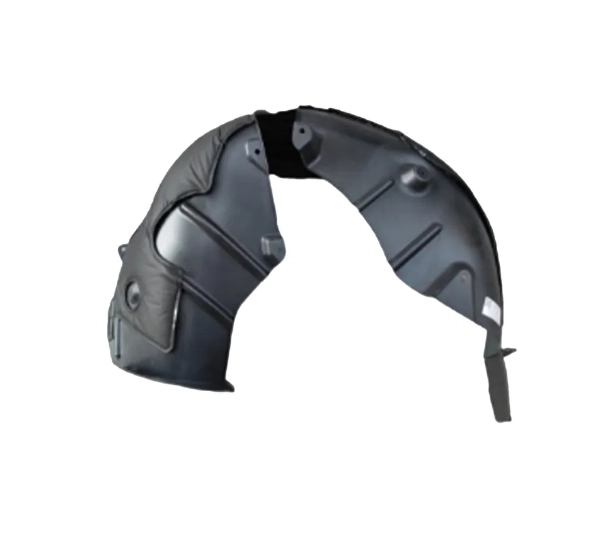
What Are Fender Flares and Why Do You Need Them?
Before diving into the actual dirty work in the garage, it helps to know exactly what these accessories do for your daily driving experience. They are essentially extensions of your vehicle’s wheel wells that stick out slightly from the body. People bolt them on for a mix of practical protection and aggressive styling.
Protection Against Mud and Road Debris
Tires naturally kick up a massive amount of rocks, thick mud, and road salt while you drive. These extensions block that debris from slamming into your doors and side panels. Keeping that flying gravel away from your paint prevents annoying chips and expensive rust problems later on.
Enhancement of Vehicle Aesthetic Appeal
A wider stance instantly makes any truck or SUV look much more rugged and capable. The extra width around the tires creates a muscular profile that stands out in a crowded parking lot. You can leave them in a textured matte black finish or paint them to match your exact factory color.
Compliance with Local Legal Regulations
Many local laws dictate that your tires cannot stick out past the body of your vehicle. If you recently bought wider aftermarket wheels or thicker tires, you might actually fail a vehicle inspection. Adding these wide extensions covers the exposed tire tread and keeps you completely street legal.
How Should You Prepare for the Installation?
Preparation makes the difference between a quick afternoon job and a frustrating weekend. Gathering everything ahead of time keeps you from making angry trips to the hardware store halfway through the process. For more general tips on preparing your vehicle for upgrades, you can browse this helpful automotive blog to get your workspace ready.
Essential Tools Required for Assembly
You do not need a massive professional toolbox for this job. Grab a basic Phillips screwdriver, a small socket set, some rubbing alcohol, and a few clean microfiber towels. A roll of automotive masking tape also comes in handy for marking positions without leaving a sticky mess behind.
Ideal Workspace and Temperature Conditions
Temperature plays a huge role if your kit uses double-sided automotive adhesive tape. Try to work in a garage that stays around 70 degrees Fahrenheit. If the air is too cold, the adhesive will just refuse to bond firmly to the metal or plastic surfaces.
Pre-Installation Cleaning and Surface Prep
Dirt is the ultimate enemy of a secure fit. Wash the entire wheel well area thoroughly with automotive soap and let it dry completely. Wipe down the exact mounting spots with rubbing alcohol to strip away any leftover car wax or grease so the tape gets a permanent grip.
How Do You Install Fender Flares Step-by-Step?
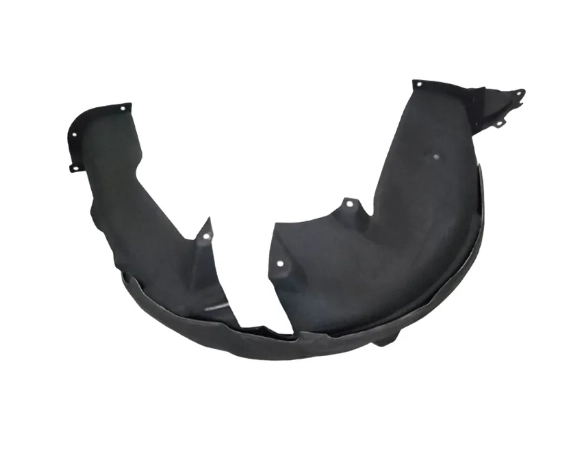
Now comes the fun part where your vehicle actually starts changing shape. Take your time here because rushing the alignment phase will leave you with crooked gaps that look terrible in the daylight.
Aligning the Flare with the Wheel Well
Hold the new piece up against the body of your car to see exactly how it aligns with the natural body lines. Have a friend hold it steady while you step back to check the angle. Use your masking tape to mark the exact top edge so you know precisely where it needs to sit.
Applying the Protective Rubber Edge Trim
Most kits come with a long strip of rubber gasket material that goes between the hard plastic and your car paint. Peel the red backing off a few inches at a time and press the rubber trim firmly along the inside edge of the flare. This rubber seal stops vibrations from scratching up your clear coat over time.
Securing Hardware Without Drilling Holes
Line up the pre-drilled holes in the plastic with the factory holes already sitting inside your wheel well. Push the supplied metal clips or U-bolts into place and tighten the screws down by hand. Working with existing factory mounting points keeps you from drilling dangerous permanent holes into your expensive fenders.
Can You Install Fender Flares on EV Models?
Electric vehicles are taking over the roads and their owners want to customize them just as much as traditional truck owners do. The aftermarket is finally catching up and offering precision-molded parts specifically for battery-powered platforms.
Growing Demand for EV Exterior Upgrades
Drivers of electric SUVs and modern crossovers want that same aggressive styling without ruining their battery range. Manufacturers are now designing aerodynamic exterior guards that look tough but still let the vehicle slice through the wind.
Seamless Fitment for Advanced NEV Platforms
New energy vehicles often feature complex sensors and unique body shapes that generic universal parts simply cannot match. You have to buy accessories engineered specifically for the exact dimensions of your electric chassis.
HiLUCK Left Rear Mudguard Assembly Showcase
When looking for an exact factory match, the Left Rear Mudguard Assembly is a perfect example of premium fitment. It bolts directly into the factory positions without forcing you to modify the vehicle body. Finding dedicated parts like this takes the guesswork out of EV customization.
What Are the Common Mistakes to Avoid During Installation?
Even with a simple bolt-on project, people still find ways to mess things up and ruin their new parts. Avoiding these common traps will save you from having a piece fly off while you drive down the highway.
Skipping the Surface Cleaning Process
You might think your car looks clean enough, but microscopic road film destroys adhesive bonds. Skipping the alcohol wipe-down step almost guarantees that the top edge will start pulling away from the body panel after the first heavy rainstorm.
Overtightening Screws and Stripping Threads
When you tighten the mounting screws, stop as soon as you feel solid resistance. Cranking down too hard on a power drill will strip the plastic threads instantly. Once that hole is stripped, the screw will just spin freely and vibrate loose on the road.
Ignoring the Curing Time for Adhesives
Automotive tape needs time to cure and reach maximum holding strength. Do not wash your vehicle or hit top highway speeds for at least 24 hours after finishing the job. Letting the car sit in the sun helps bake the adhesive into a permanent bond.
How Do You Maintain Your Fender Flares After Installation?
Taking care of your new exterior modifications keeps them looking fresh for years. Neglected plastic parts will quickly turn chalky and ruin the whole aesthetic of your ride.
Regular Washing and Debris Removal
Mud trapped behind the plastic edges holds onto moisture and creates a breeding ground for rust. Spray a hose directly up into the wheel wells every time you wash the car to blast away trapped dirt.
Applying UV Protectant to Prevent Fading
The sun beats down ruthlessly on exposed black plastic parts. Rub a quality UV protectant liquid into the surface once a month to stop the material from oxidizing and turning a cheap-looking gray color.
Inspecting Hardware for Long-Term Stability
Road vibrations constantly loosen bolts and mounting clips over the months. Walk around the vehicle every time you change your oil and give each piece a firm wiggle to see if anything needs to be tightened back up.
Where Can You Buy Reliable Fender Flares and Mudguards?
Picking the right supplier matters just as much as using the right installation technique. You want to avoid cheap, brittle plastics that crack the first time a rock hits them.
Identifying Reliable OEM and Aftermarket Brands
Look for companies that provide detailed fitment notes and use high-impact ABS plastic or flexible polyurethane. Good suppliers will always tell you exactly which year and model their products bolt onto.
Contacting HiLUCK for Customized Export Solutions
Finding reliable EV accessories for specific global markets can be tricky. You can easily contact us directly to discuss bulk orders, specific vehicle fitments, or tailored export solutions for your automotive business needs.
FAQ
Q1: How long does it usually take to install a full set of four? A: If you have all your tools ready and the car is clean, a complete set usually takes about one to two hours in a home driveway.
Q2: Can you paint them to match your car’s exact color? A: Yes, many styles come in a smooth paintable finish, though you should always use an adhesion promoter and automotive-grade paint for the best results.
Q3: Will these modifications void my vehicle warranty? A: Bolt-on exterior accessories that use existing factory holes generally do not void any factory warranties since no permanent modifications are made to the chassis.
Q4: Do you really need to use the rubber edge trim? A: You definitely should use it because it creates a tight seal against dirt and stops the hard plastic from wearing right through your clear coat as the car vibrates.
Q5: What should you do if the double-sided tape starts peeling off? A: You will need to carefully remove the loose section, clean the area entirely with rubbing alcohol, and apply fresh automotive-grade tape to secure it again.
